Build a Classification Model using Azure AutoML Integration
How does Datasaur help?
At Datasaur, we've got you covered when it comes to data labeling. We understand the importance of being able to integrate with various machine learning platforms, including Azure. We recognize that Azure is a powerful tool for building and deploying ML models, and that's why we've prioritized seamless integration with it. Our mission is to empower data scientists and machine learning engineers to build and deploy highly accurate and effective models on any platform they choose.
Integration with Azure
In this tutorial, we will take you through the process of building a model with Azure integration. This tutorial is meant to be practical and easy to follow, even for beginners. It is a step-by-step guide that will walk you through the entire process of building a model that can be deployed easily on Azure.
We will start with labeling data using Datasaur, then move on to building a model with Azure Automated ML. We will provide a detailed guide with screenshots to ensure that you have a smooth experience throughout the process.
By following this tutorial, you will learn how to:
- Label news data category with Datasaur
- Train a model using Automated ML in Azure
If you are ready to get started, let's dive in!
Labeling with Datasaur
- Prepare your preferred dataset. We will use the following dataset for this tutorial: Dataset link
- Log in to your Datasaur account. We recommend you use the team workspace.
- Go to your desired team workspace. Once you have stored your data from the previous step, you can create a project with the DOC type from the Datasaur project template. It will give you automated settings for a classification project.
- To get started with the data labeling process, the first step is to upload your data to the uploader.
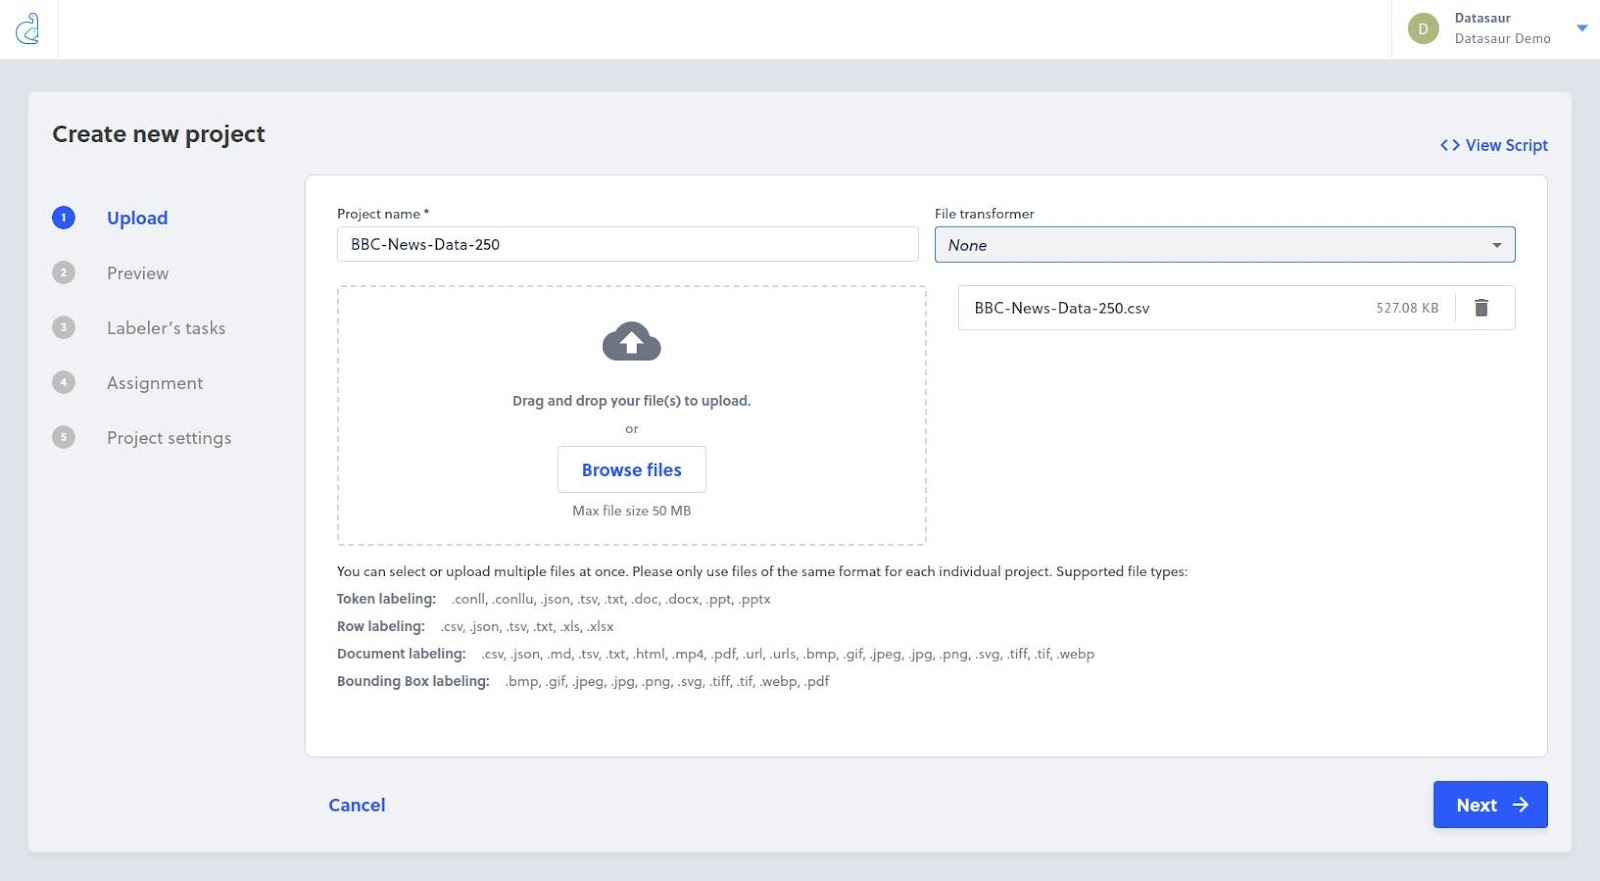
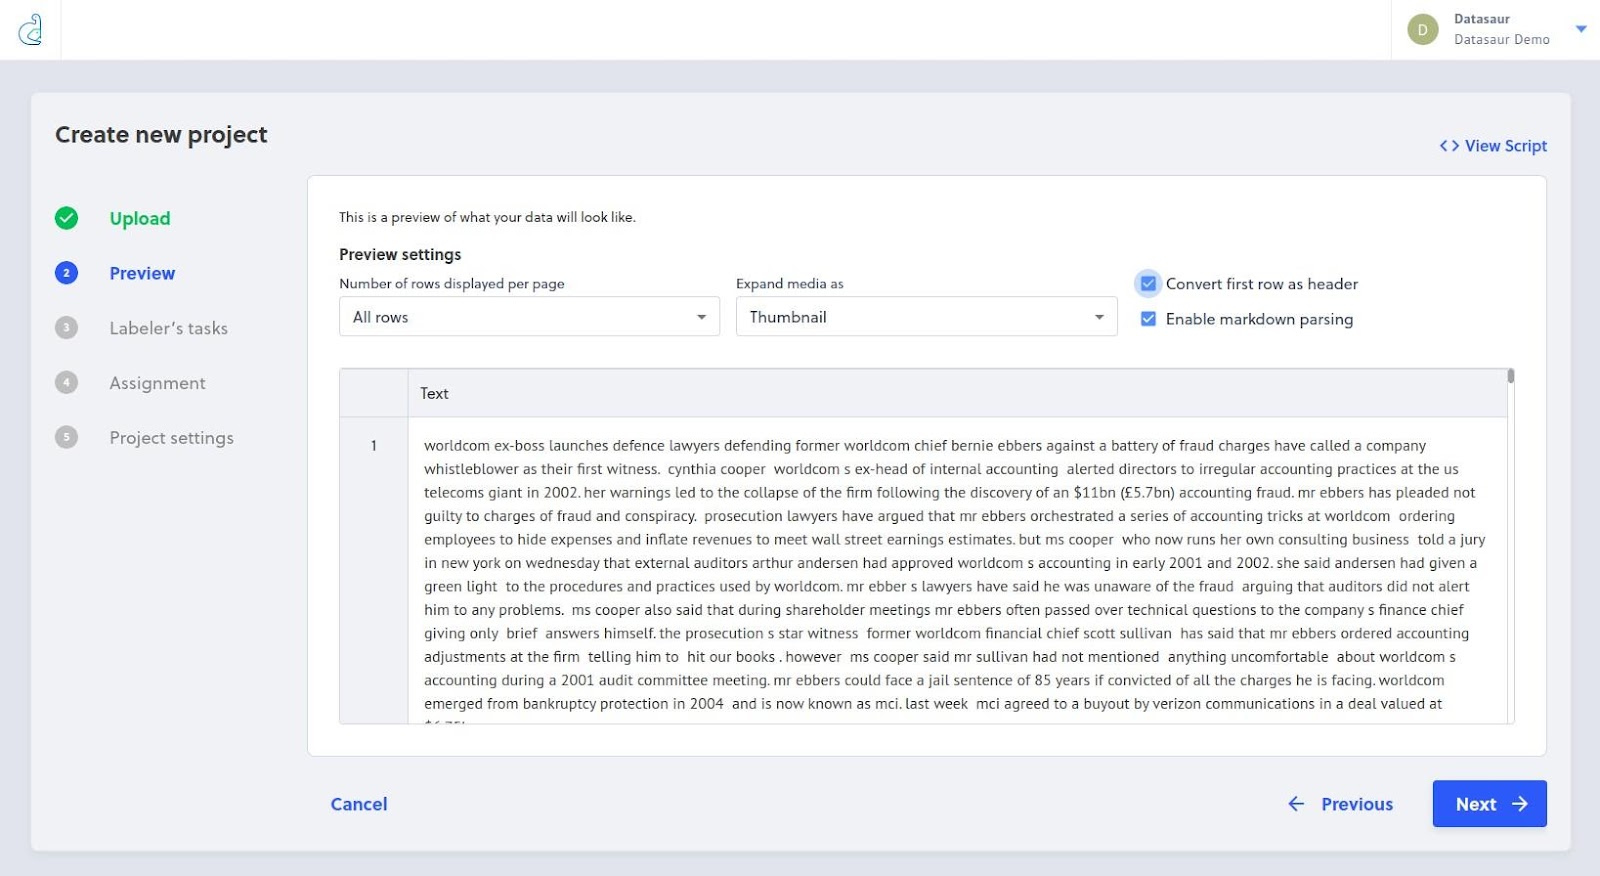
- After uploading your data, you can preview your dataset. If your data already has headers, you can convert the first row to a header using the available settings.
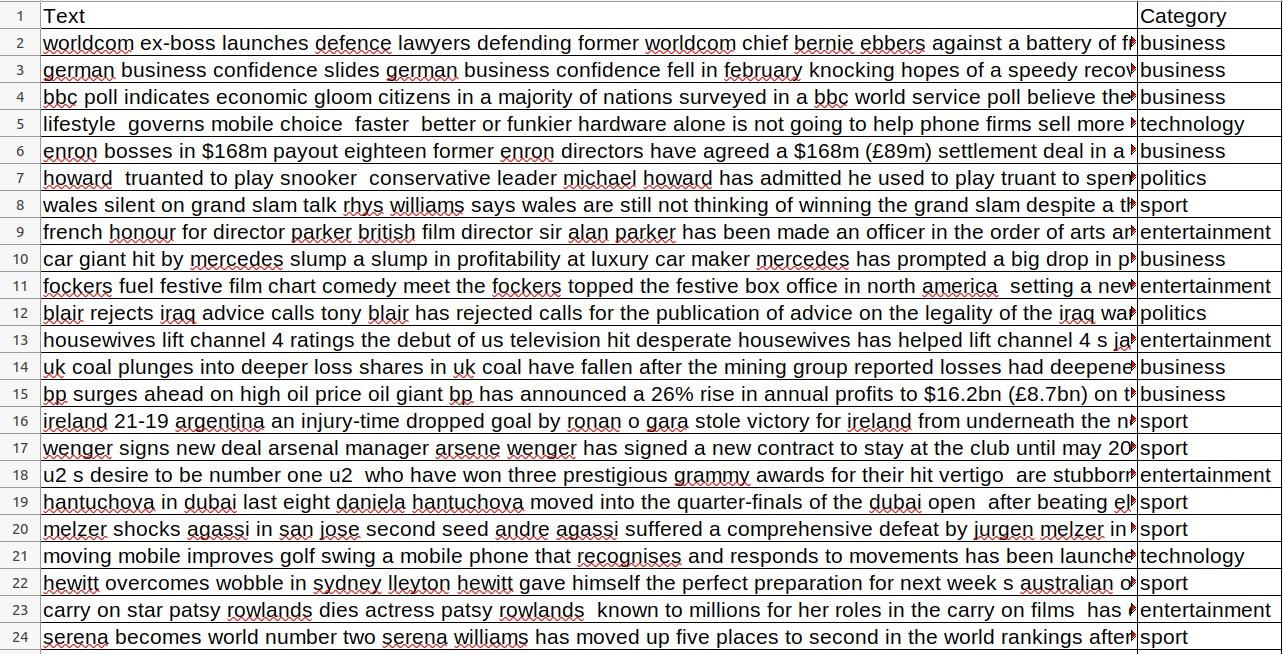
- To create your labeling task, you need to add a question set. The question set defines the goals for your labeling project. Name the question set “Category.” From the dropdown “Question Type” select “Dropdown.” Enter in the following labels: Business, Technology, Politics, Sports, and Entertainment.

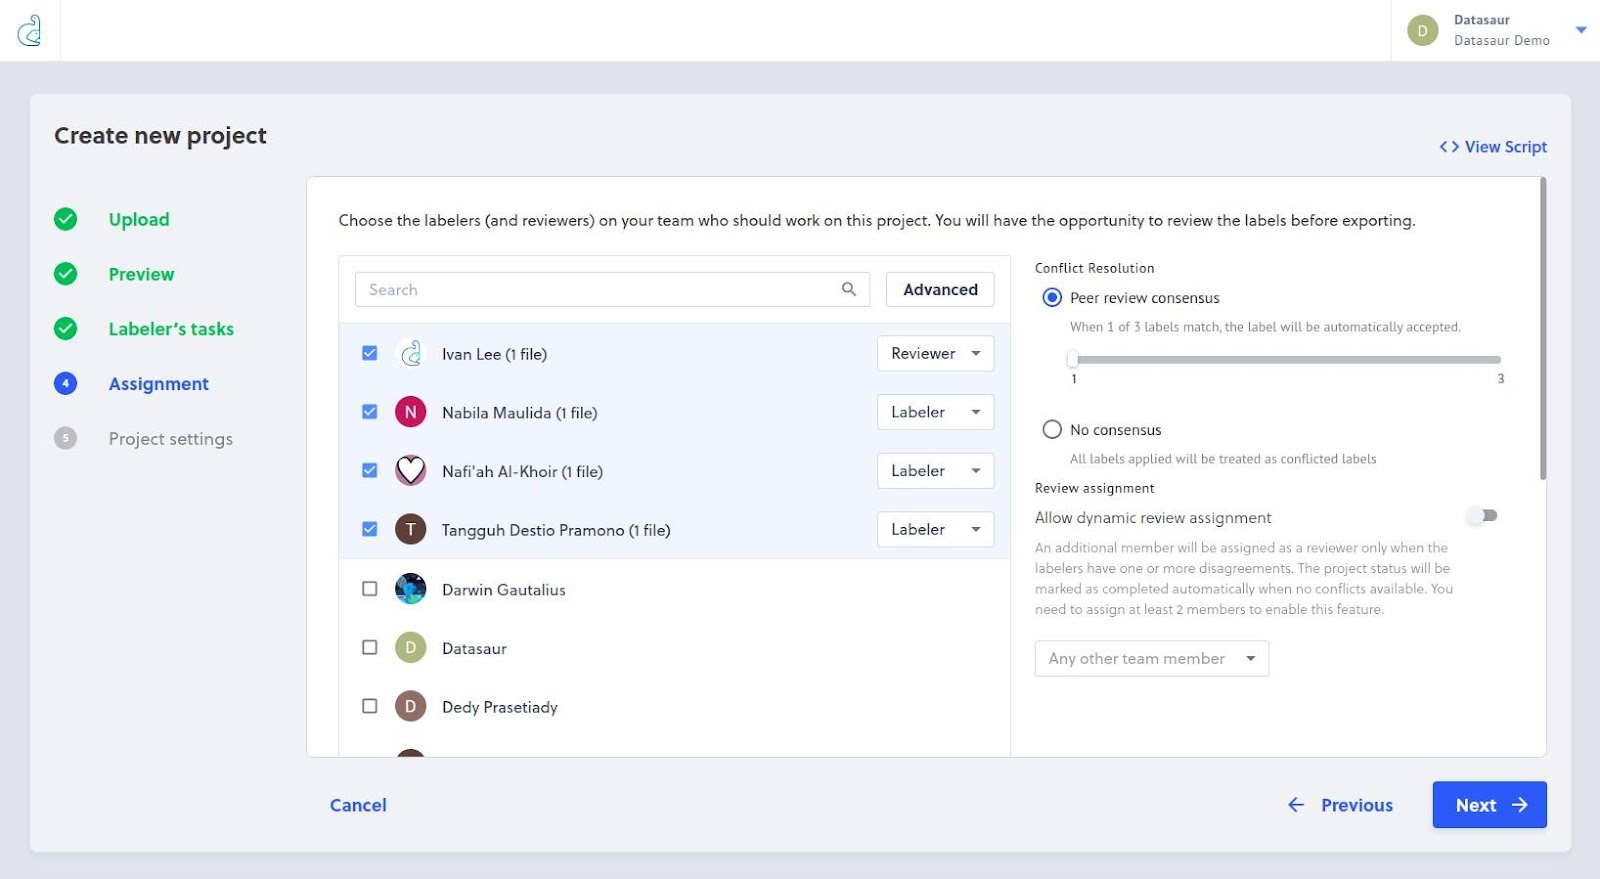
- When working on a data labeling project with a team, it's important to assign responsibilities clearly to ensure efficient collaboration. In Datasaur, you can assign team members as either labelers or reviewers based on their roles and responsibilities in the project.
- The project is now ready to be launched.

- You are now ready to annotate the data. Shortcut: Use this labeled data to jump into the next step.

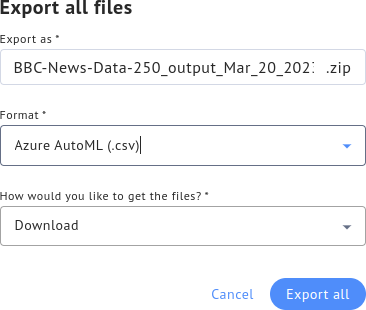
- After you have finished labeling your data in Datasaur, you can easily export it to Azure's native format. To export your labeled data to Azure, you need to first access the Export submenu by clicking on the "File" menu. Once there, you will see a dropdown menu with several options, one of which is "Azure." Selecting this option will initiate the export process, after which you will have a file in Azure's format that can be used for training and deploying machine learning models.
- Your dataset is now fully prepared and ready to be utilized for your machine- learning project.
Building a Model with Azure AutomatedML
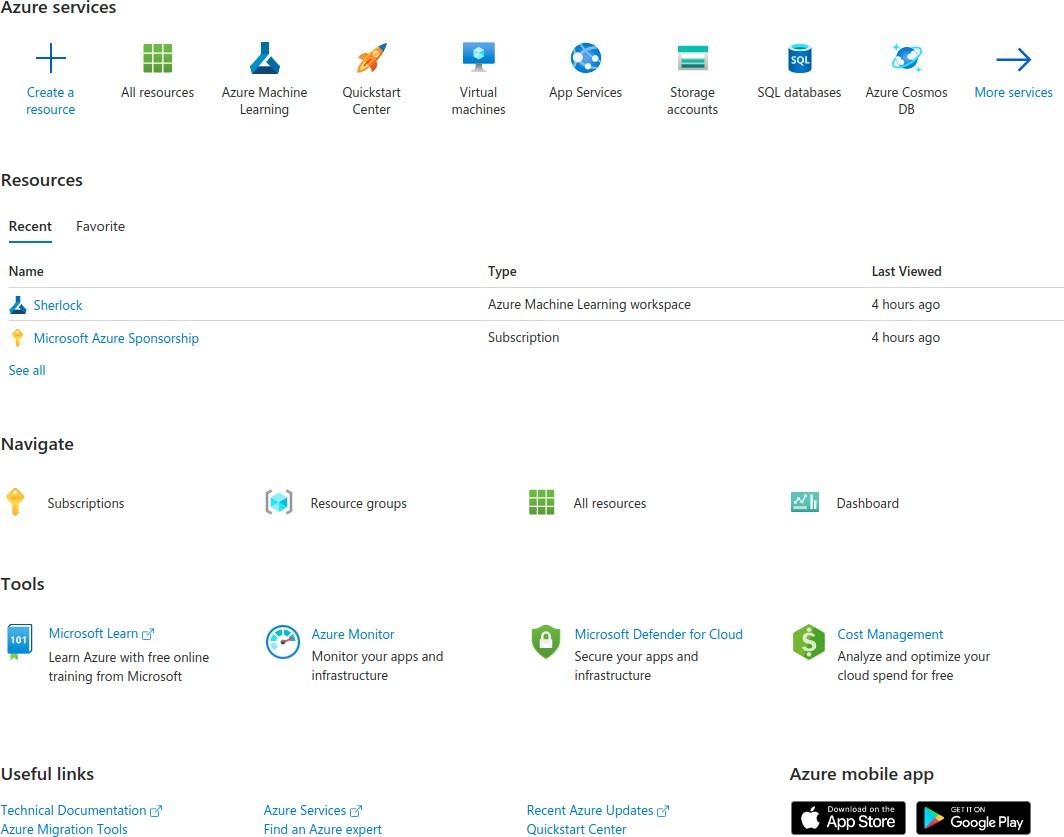
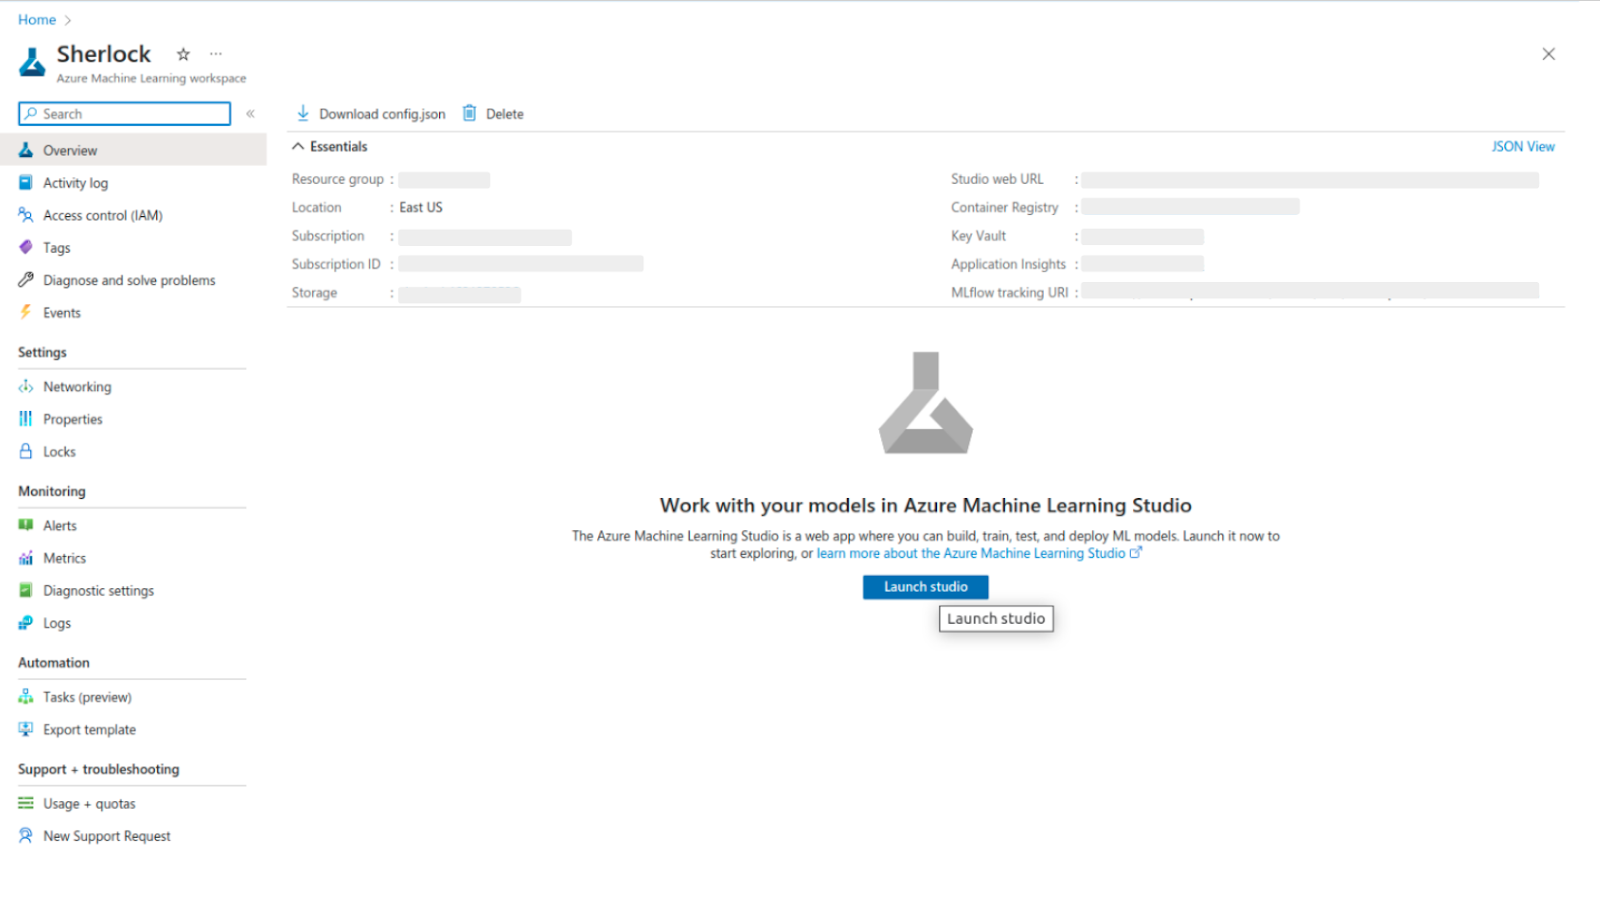
- To begin, open https://portal.azure.com/#home and navigate to your Azure Machine Learning workspace.
- You need to launch the studio and start your computing instance. This step is crucial to ensure that your computing environment is set up correctly and that you can access all the tools and resources you need to build and deploy your model successfully.
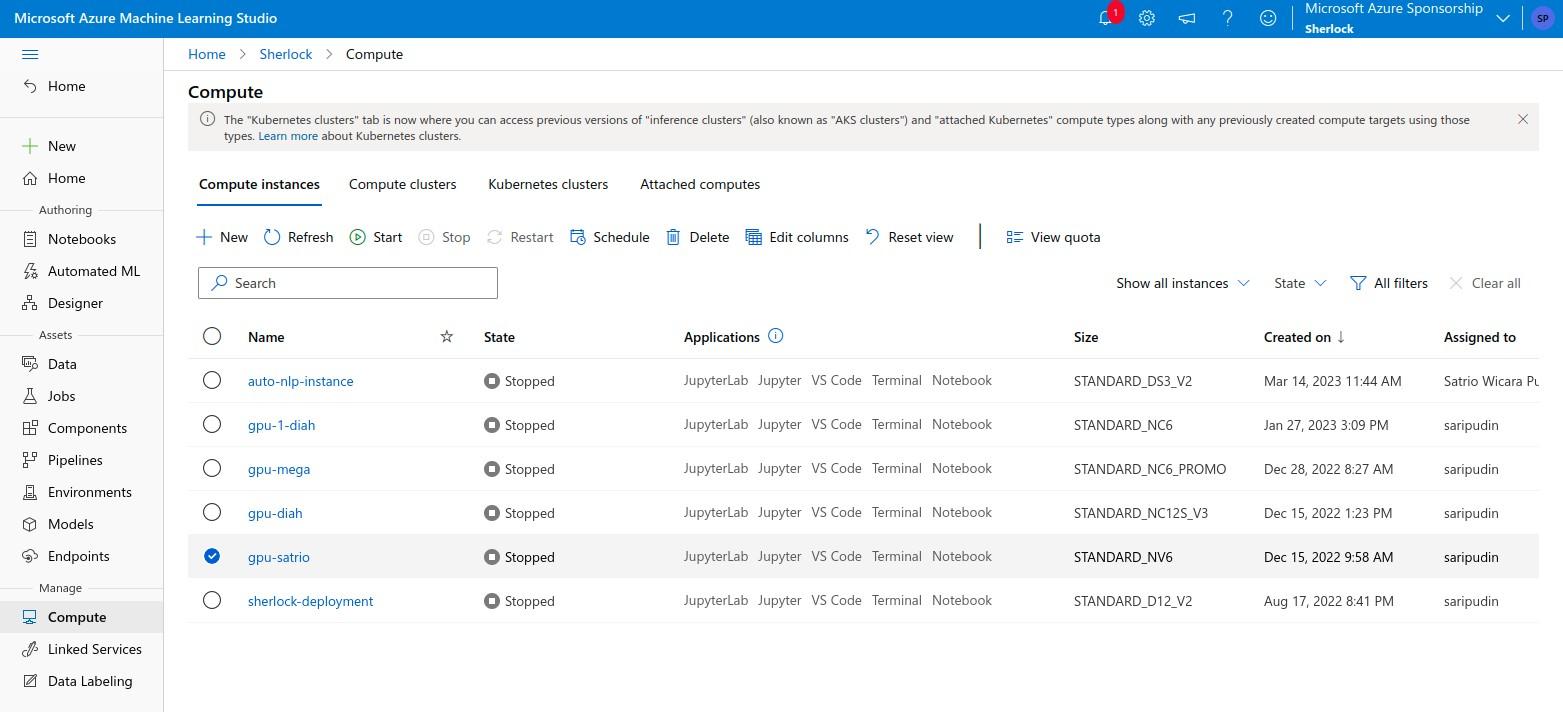
- Navigate to the "Compute" menu to configure your instance.

- You can choose your desired instance.
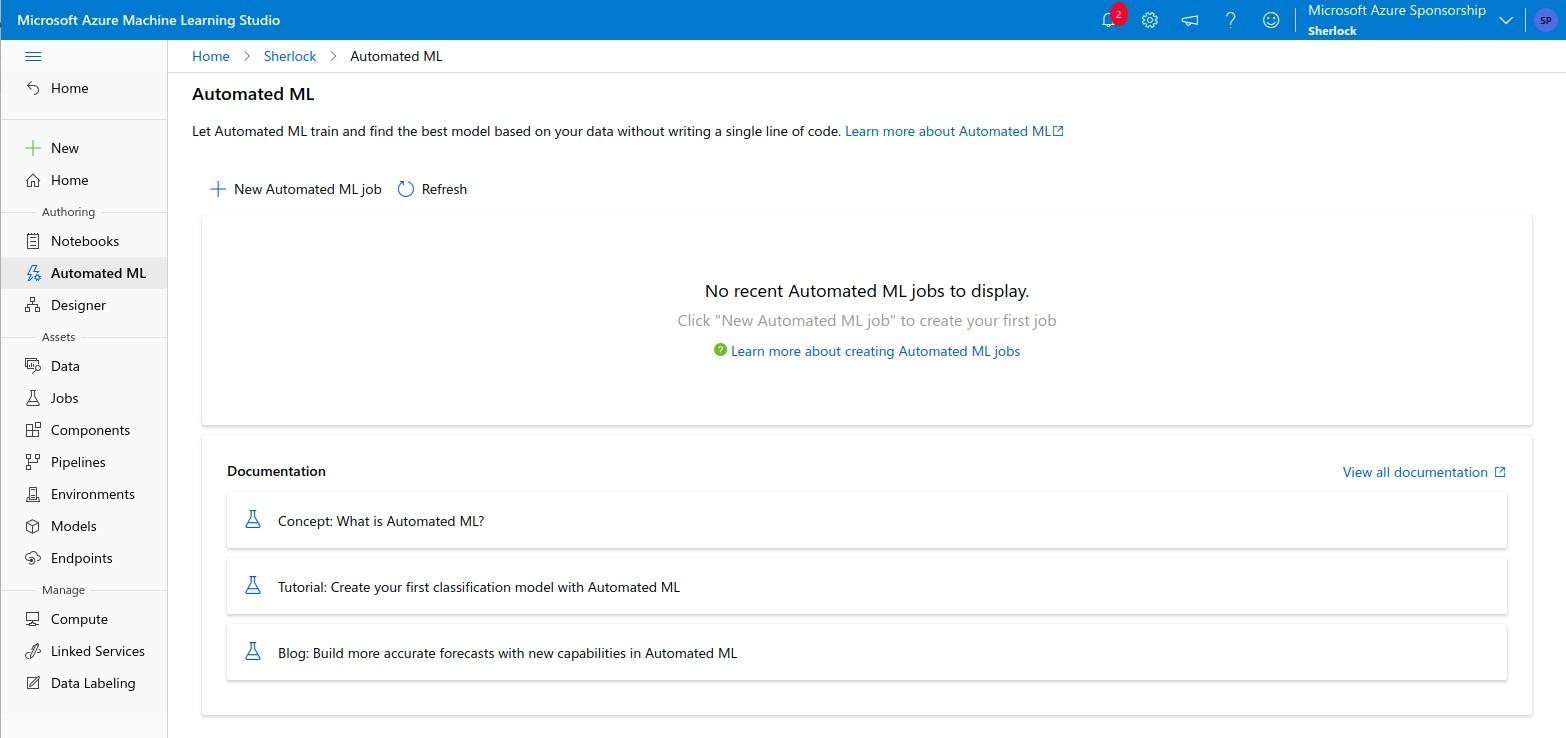
- After successfully configuring your computing instance, navigate to the Automated ML section and configure your training settings.
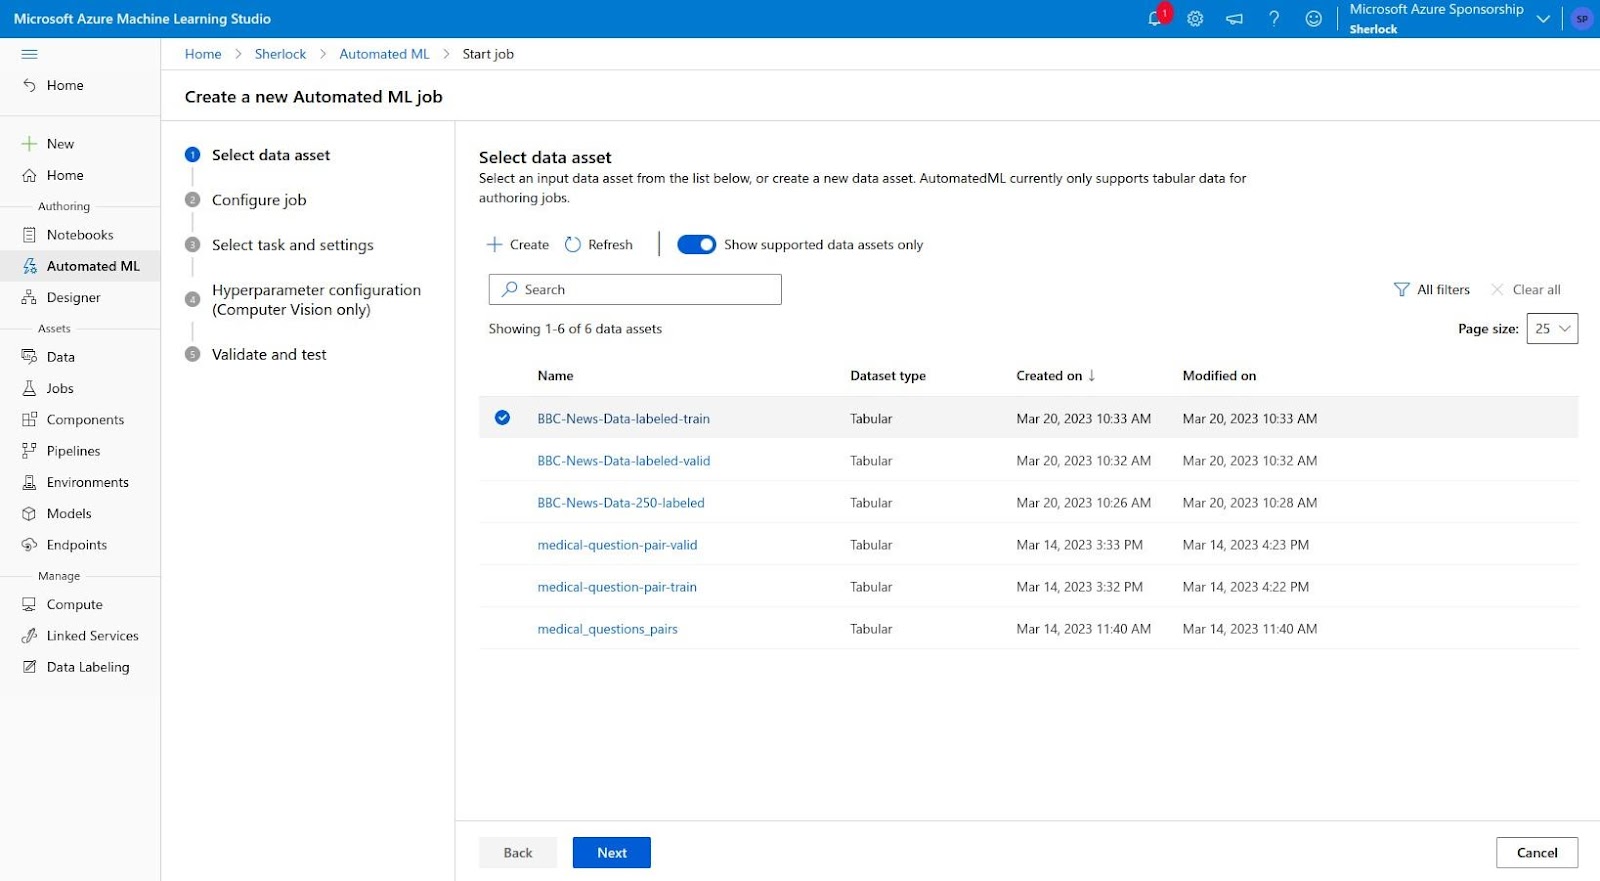
a. In this step, you need to add a dataset, ensuring that it includes a split between training and validation data.
b. Once you have set the data split, you can configure the necessary job.
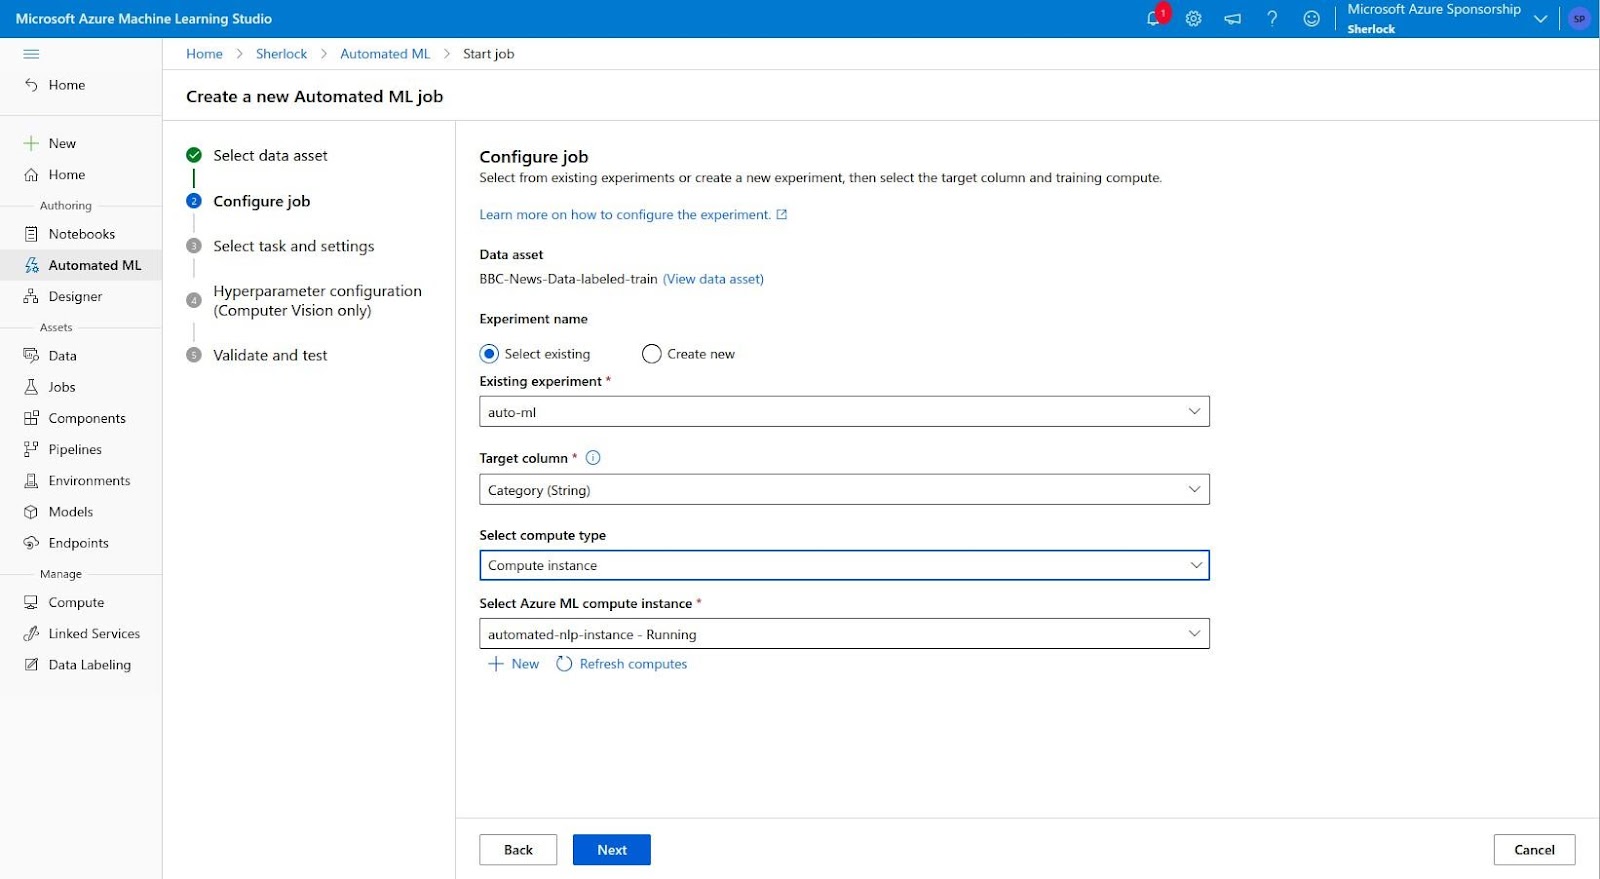
c. Set the training task to classification.
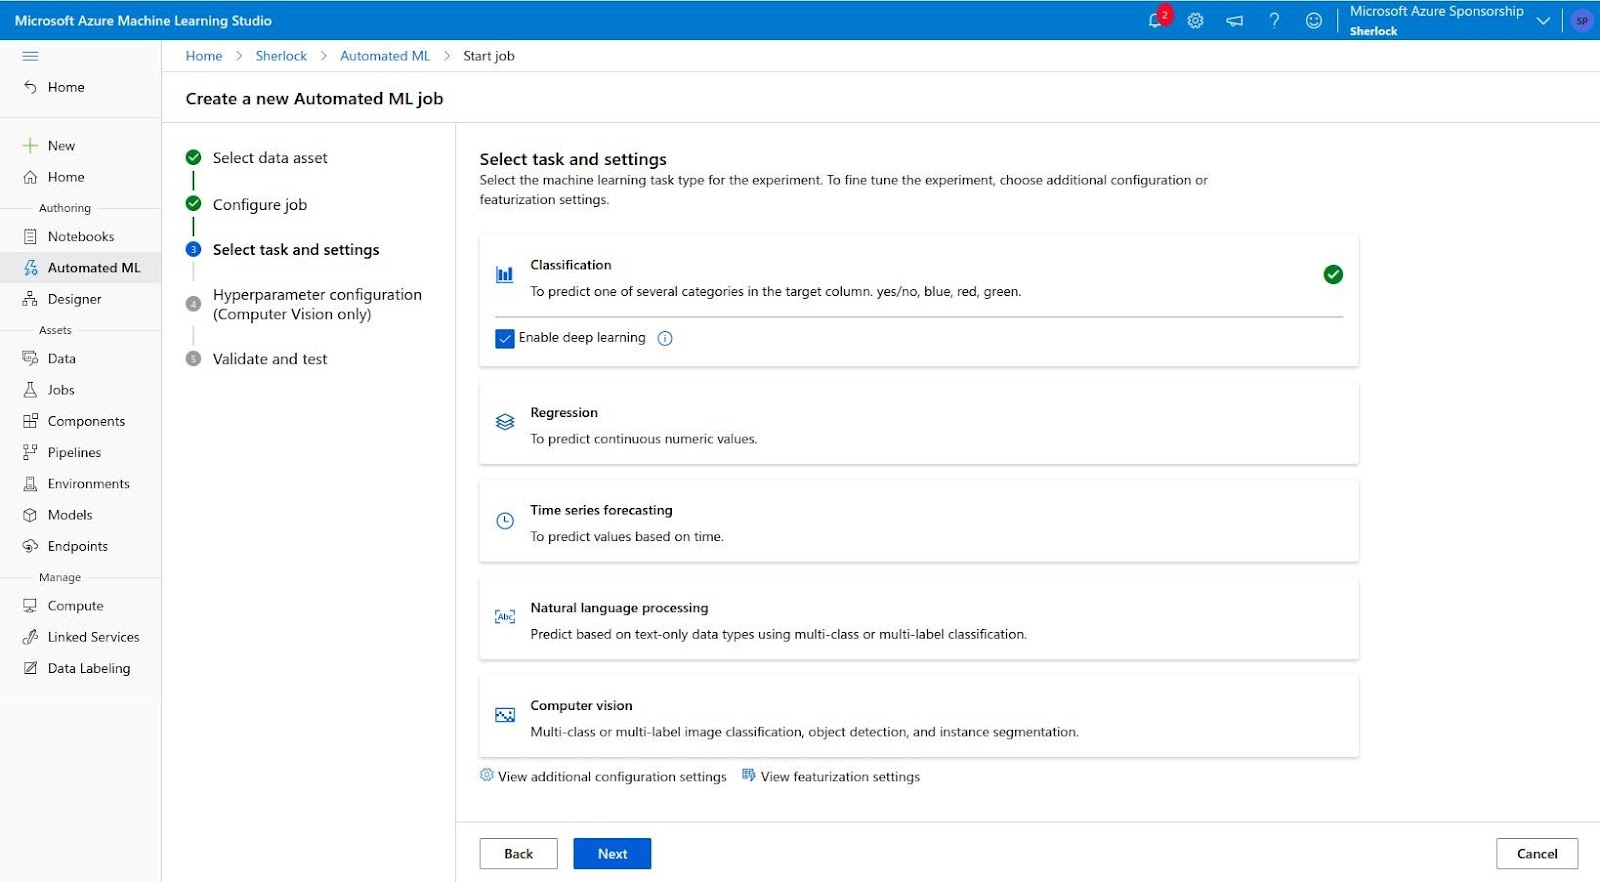
d. You can add additional configurations such as allowed models, training job time, and metrics thresholds. Allowed models are used to list all the model variants that we want to use in the training process. Training job time and metrics threshold define the exit criterion. When this threshold value is reached for an iteration metric, the training job will be terminated. We recommend you use 24 hours and 1 iteration as the value for training job time and maximum iteration.
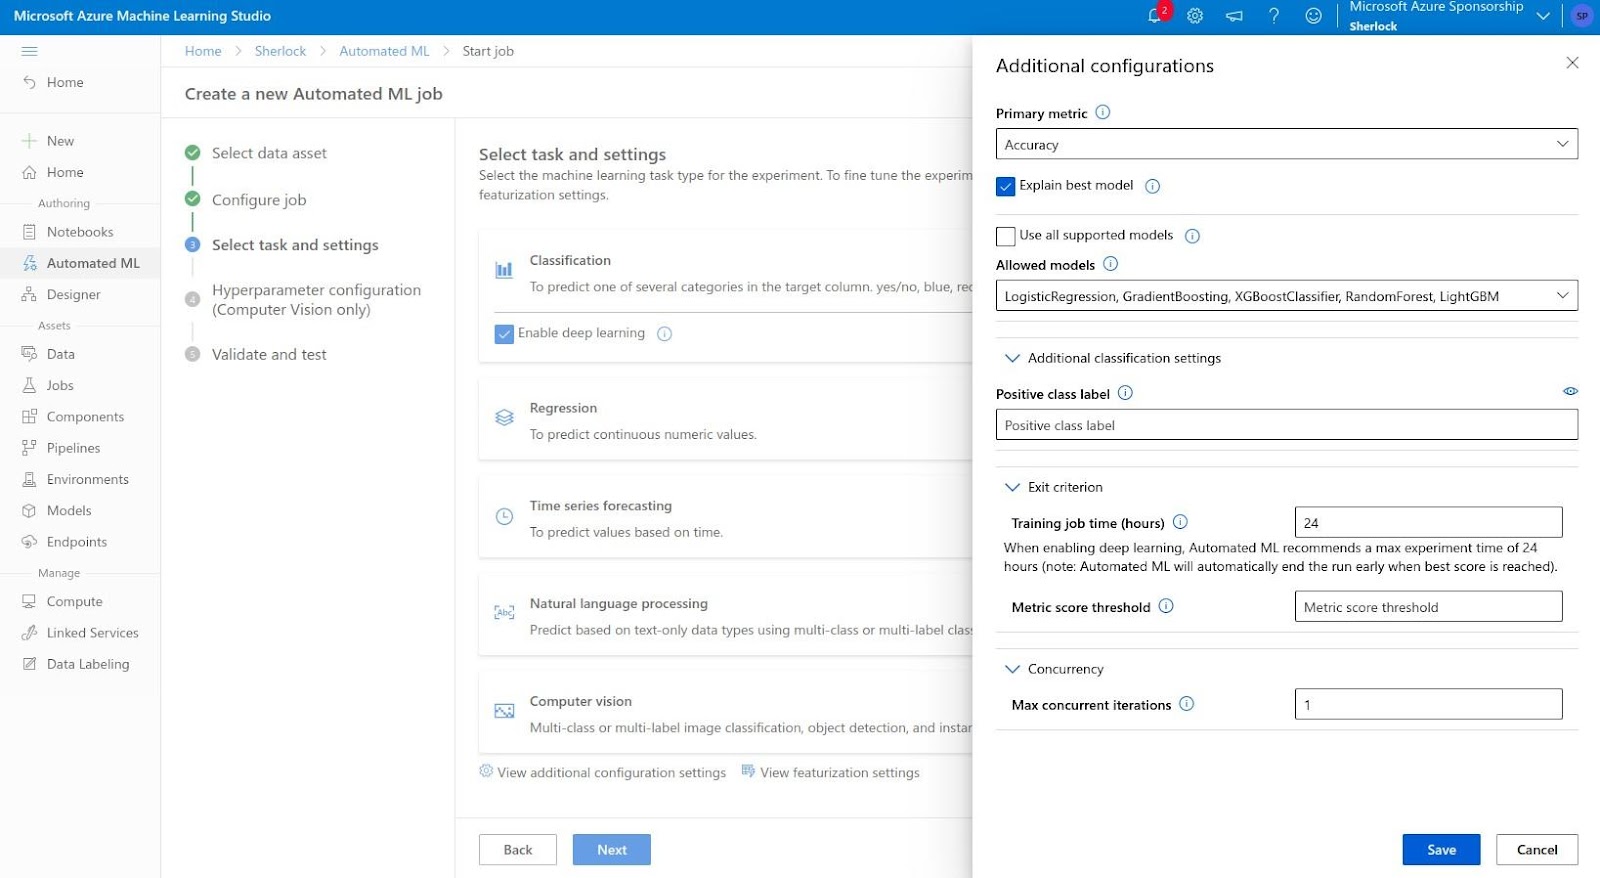
e. You can also modify the featurization config.

f. You need to also set your validation data.
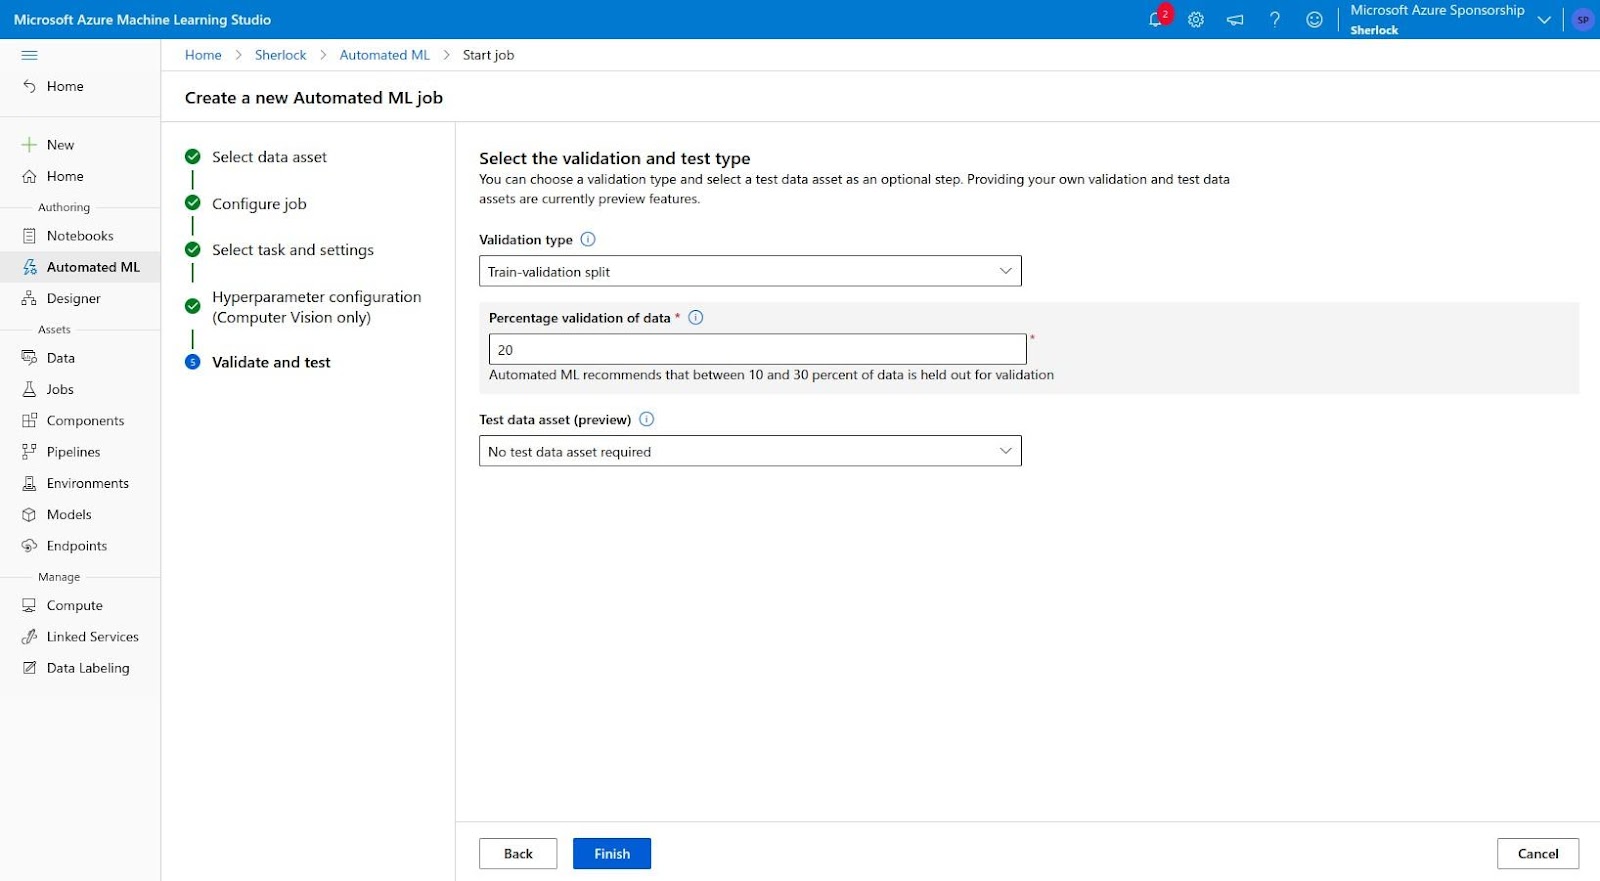
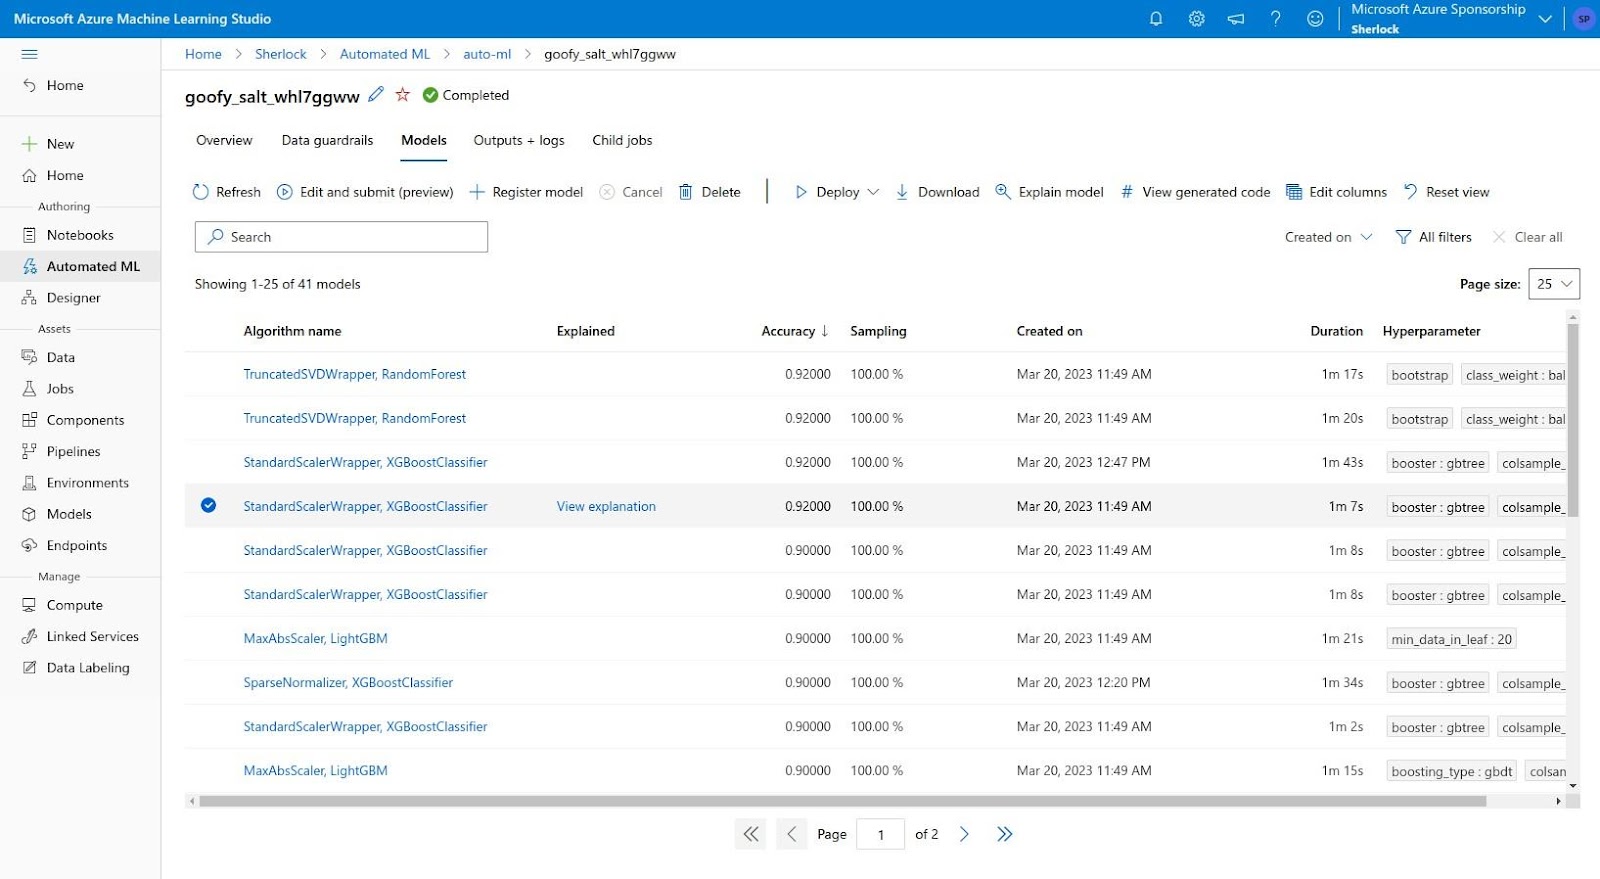
g. All steps are set! We are ready to see the result of our machine learning training.
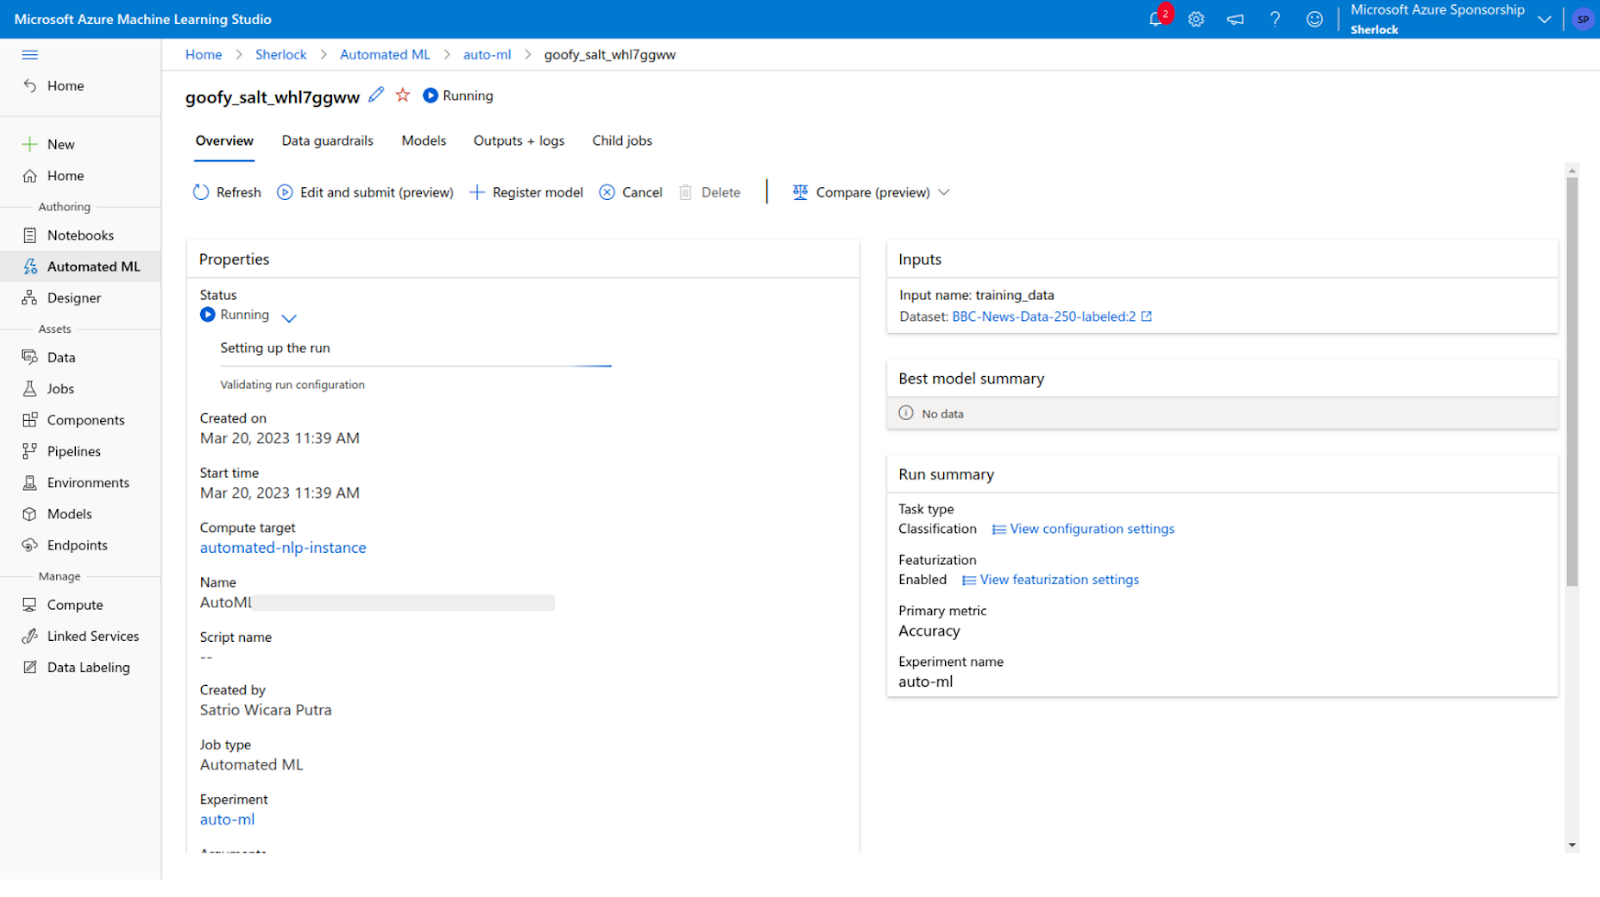
6. After completing the necessary steps to train your machine learning model with Azure AutomatedML, you will be able to view your training performance results. This valuable information will give you insight into the accuracy and effectiveness of your model, allowing you to make any necessary improvements or adjustments.
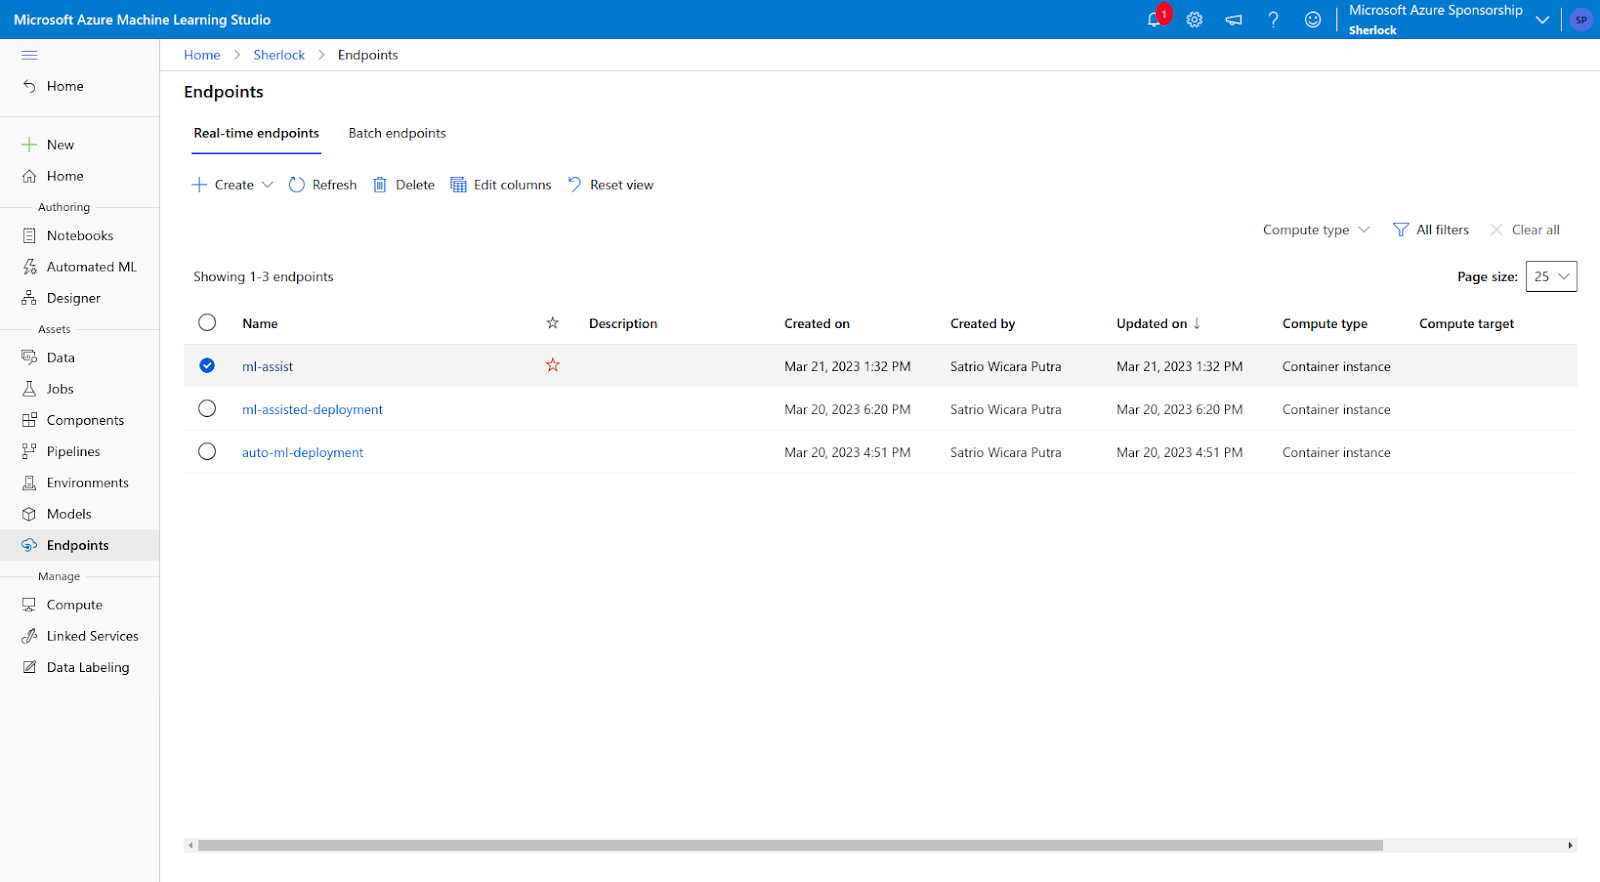
Deploy the Trained Model using Azure
In order to utilize the machine learning model that you have built, it is necessary to deploy it. This involves making the necessary configurations and settings so that the model can be accessed and used by others.
Deploying a model can be a complex process, but with the right guidance and steps, it can be a straightforward task. Below are the steps you can follow to deploy your model:
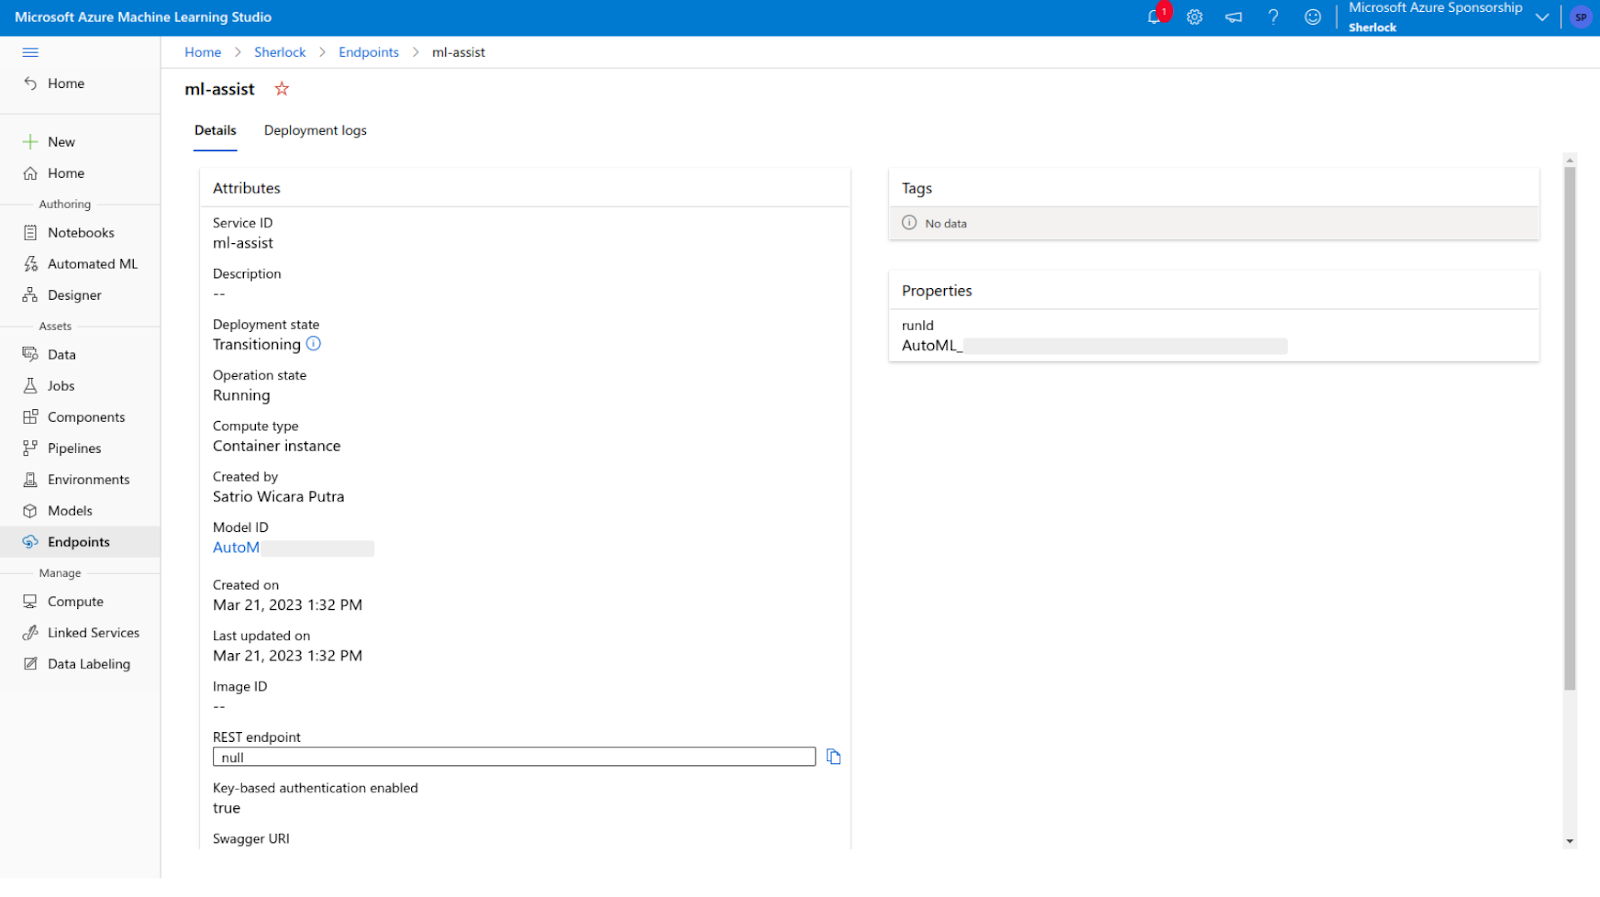
- First, select the deploy model option and fill in the entry script file and conda dependencies file. You can access them here.

- Please wait for the endpoint to be deployed. This may take some time, but it's important to allow the necessary configurations and settings to be put in place so that the model can be accessed and utilized by others.
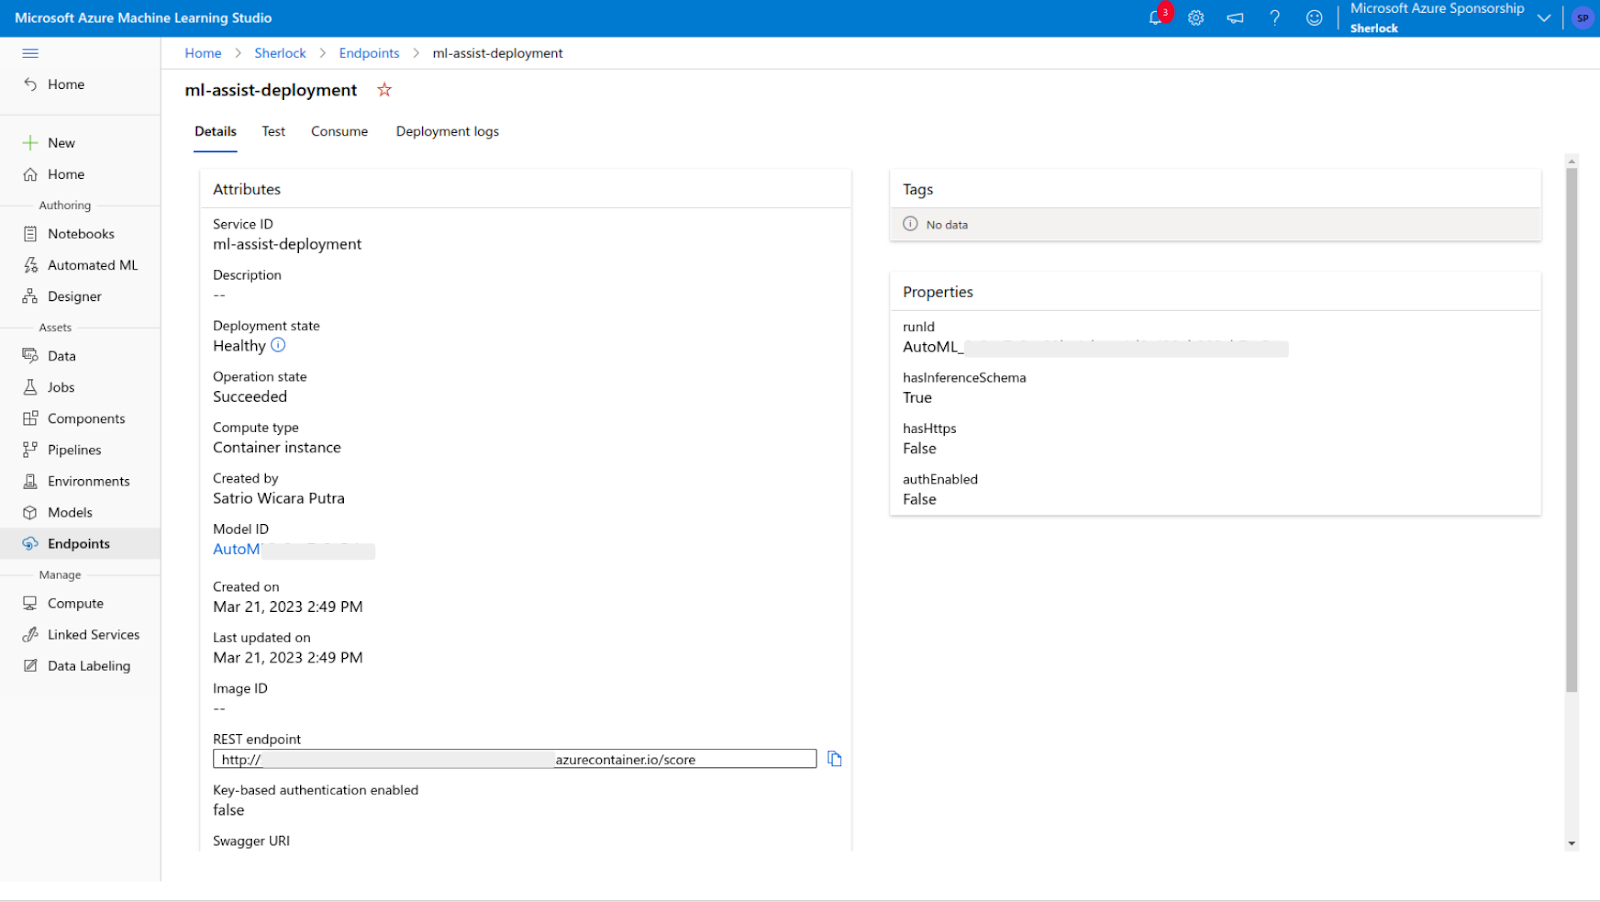
- Once the model has been deployed, you can easily copy the REST API URL provided in the detail tab. This URL allows others to access and utilize the model for their own projects and applications. Your model is ready to use!
Test out your model performance with Datasaur
By using your ML model, you can efficiently obtain labeled data, which can save you time and effort in the data preparation process. This is because your model can use its predictions to label data automatically. For example, if you're building a model to predict whether an email is spam or not, you can use your model to label a large dataset of emails automatically. This can be more efficient than manually labeling each email, which could take a significant amount of time.
- Open your existing project and enable the ML Assisted Labeling extension.
- Next, select "Custom" as the provider. Copy and paste the previous API URL into the "Custom API URL" field.

- To begin prediction, click the "Predict labels" button. The labels will be applied automatically in your project workspace.

Summary
Datasaur's flexible annotation capabilities enable data scientists to annotate data in a way that suits their specific use case. This can include multiple annotation workflows, such as single annotation or consensus annotation, ensuring that you can get the most out of your data.
In addition to its flexible annotation capabilities, Datasaur offers seamless integration with Azure. With Azure integration, users can build and deploy their own models in a matter of minutes. Whether you are an experienced data scientist or a beginner just starting with machine learning, Datasaur's integration with Azure makes it easy to get started and achieve your goals.
By using Datasaur to label your data and then training your machine learning model with Azure AutomatedML, you can create highly accurate and effective models that can be deployed on any platform of your choice within minutes! Datasaur's assisted labeling feature also allows for efficient and accurate labeling, saving you time and effort in the data preparation process.
Overall, Datasaur's integration with Azure provides a powerful and efficient solution for data labeling and machine learning model training. Whether you are working on a small-scale or large-scale project, Datasaur's capabilities and integration with Azure can help you achieve your goals quickly and easily.